In enterprise level development, dependency injection has been a standard go to design pattern. And with .NET core it's become alot easier!
Working with Dependency Injection, has for the last many years been a key design pattern, when building enterprise level projects. One of the key benefits of working with depency injection is that it gives us the ability to swap our component implementation without affecting the consumers of those services's.
What we actually do, is we reference an Interface or contract of a component, which means we dont know which implementation is used, we just know the constructor of it via the Interface. Now in order to resolve the Interface we have a dependency resolver. When this pattern was the new black, most people used Ninject, StructureMap , CastleWindsor or one of the many other packages/projects avaliable.
Today, with .NET Core, we get a very lightweight easy to use Depedency Injection resolver out of the box. It's easy to use, but it also has it's limitations, however doing simple depedency injection is great utilizing the standard resolver in .NET Core, but onces you get more complex solutions, a third party resolver might be the way togo. But let's get to the details!
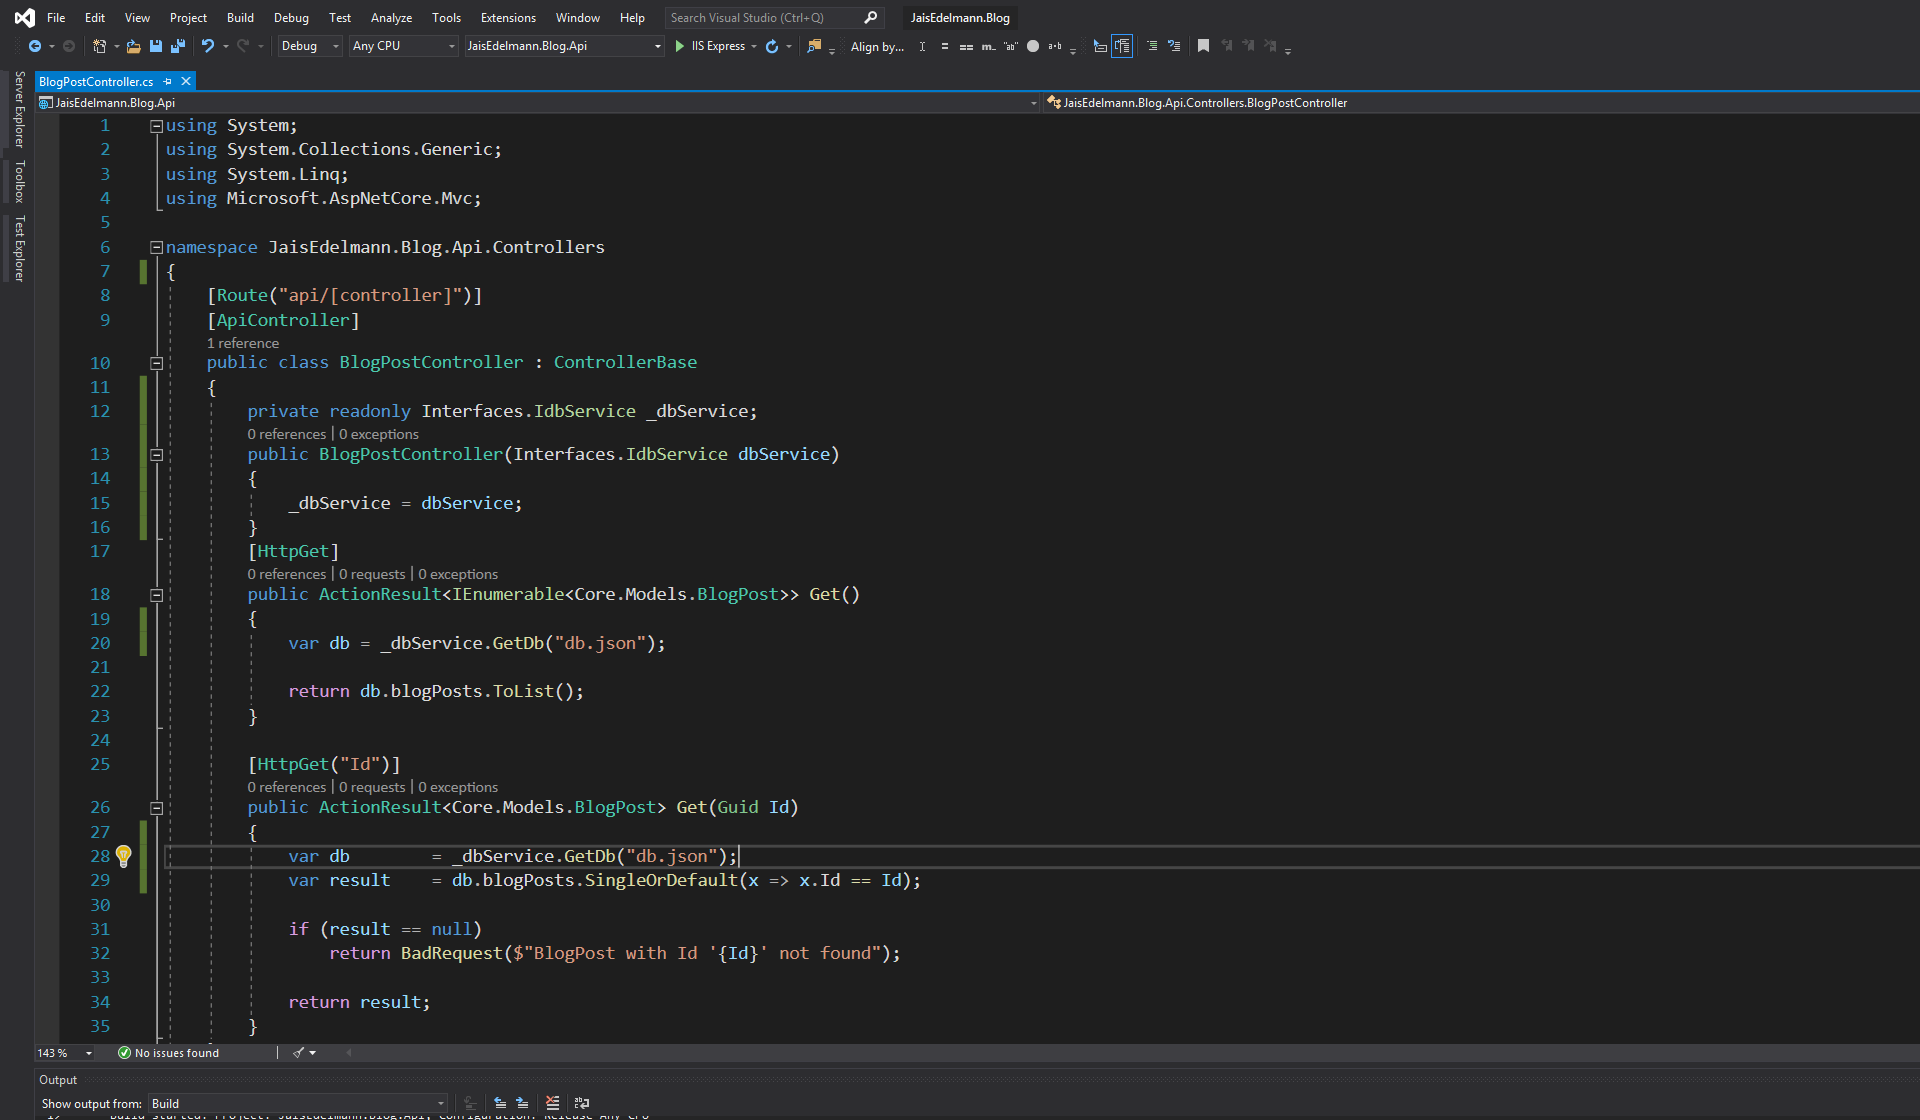
As I Promised in the last article we would try change the way we referenced our dBService in our BlogPostController, so let's get going!, First we head over to the blogPostController and create a new constructor with the name of the class where we allow injection of our dbService Interface, in addtion we create a private instance of the interface that we can reference locally.
using System;
using System.Collections.Generic;
using System.Linq;
using Microsoft.AspNetCore.Mvc;

namespace JaisEdelmann.Blog.Api.Controllers
{
    [Route("api/[controller]")]
    [ApiController]
    public class BlogPostController : ControllerBase
    {
        private readonly Interfaces.IdbService _dbService;
        public BlogPostController(Interfaces.IdbService dbService)
        {
            _dbService = dbService;
        }
....
We can now in our code reference the _dbService to utilize the service - so let's try that.
 [HttpGet]
public ActionResult> Get()
{
    var db = _dbService.GetDb("db.json");

    return db.blogPosts.ToList();
}
Easy peasy right? Onces you understand the concept and benefits, you will be loving utilizing dependency injection! Let's move over to our startup.cs and markup what our iDbService interface should resolve to. What we need to add is a simple singleton where we define first our interface and then the implementation we would like to use.
// This method gets called by the runtime. Use this method to add services to the container.
public void ConfigureServices(IServiceCollection services)
{
    services.AddMvc().SetCompatibilityVersion(CompatibilityVersion.Version_2_2);
    services.AddMvc().AddJsonOptions(options =>
    {
        options.SerializerSettings.Converters.Add(new Newtonsoft.Json.Converters.StringEnumConverter());
        options.SerializerSettings.NullValueHandling = Newtonsoft.Json.NullValueHandling.Ignore;
    });

    services.AddSingleton<Interfaces.IdbService, Services.dbService>();
    services.AddSwaggerGenNewtonsoftSupport();
    services.AddSwaggerGen();
}
That's it! That's all you have todo in order to utilize dependency injection in .net core! No third party project are needed! Out of the box simple implementation.